Custom beanies are one of the fastest-growing accessories in apparel decoration, and for good reason. They sell year-round, carry a high perceived value, and give your customers a cozy canvas for logos, slogans, and seasonal designs. Unlike a basic tee, a beanie reads as a finished retail accessory the moment someone picks it up, which means shoppers are willing to pay a premium and reorder for gifts, teams, and brand merch. In this guide, we'll walk through how to print and embroider custom beanies so your finished caps look professional, feel comfortable, and hold up wash after wash.
Choosing the Right Beanie Blanks
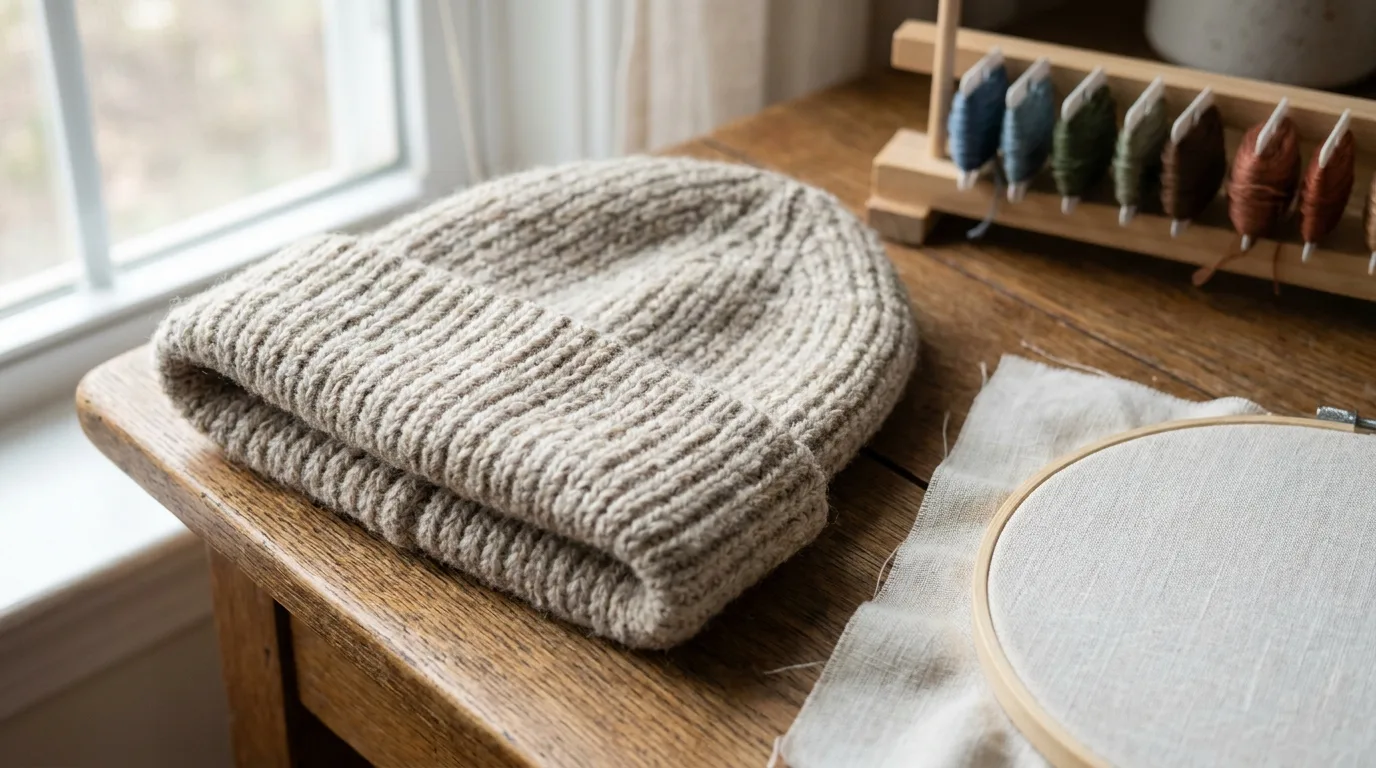
Great results start with great blanks. Before you decorate a single hat, think about fabric weight, stretch, and cuff style. A tight knit holds embroidery stitches cleanly, while a chunky waffle knit can swallow small lettering. For most brands and crafters, a cuffed acrylic or acrylic-blend beanie is the sweet spot: warm, affordable, and forgiving for both stitching and heat transfer. Pay attention to the knit gauge too, because a fine gauge gives you a smoother surface for crisp logos, while a bulky gauge leans into a chunky, fashion-forward look that suits simple marks.
- Cuffed beanies give you a flat, stable area on the fold that is ideal for centered logos.
- Cuffless (slouch) beanies offer a relaxed look but need careful placement so the design isn't lost in folds.
- Fabric content matters: acrylic handles embroidery well, while cotton blends take heat transfers nicely at lower temps.
- Knit gauge affects detail, so reserve fine knits for small lettering and bulky knits for bold shapes.
Browse decoration-ready styles like our custom cuffed beanie caps built for printing and embroidery to start with a proven blank that presses and stitches predictably.
Embroidering Custom Beanies
Embroidery is the premium finish most shoppers expect on a beanie. It adds dimension, durability, and that retail-quality feel. The key challenge is the stretch: knit fabric moves, so you need backing and digitizing built for the job. Get those two things right and your beanies will look like they came off a major brand's shelf.
Hooping and Stabilizing
Use a cap or small round hoop sized to the cuff, and pair it with a cutaway stabilizer to keep stitches from sinking. A topping film on fuzzy knits keeps lettering crisp and stops the design from disappearing into the fibers. Always test on a scrap beanie before running a full batch, and check your bobbin tension so the back stays clean and the front lies flat.
Digitizing for Knit Stretch
Ask your digitizer for a design optimized for knit garments. That usually means slightly higher stitch density, generous pull compensation, and avoiding tiny serif fonts under a quarter inch tall. Bold, simple marks read best on cuffs. If a customer hands you a detailed logo, work with them to simplify it for the format, because a clean, legible stitch-out beats a cluttered one every time.
Printing Custom Beanies with DTF Transfers
Not every shop owns an embroidery machine, and that's fine. DTF (direct-to-film) heat transfers let you print full-color custom beanies with no minimums and gradients embroidery can't match. Press a transfer onto the cuff using a heat press with a small lower platen or a hat press attachment so you don't crush the knit. This method is perfect for photo-style art, multicolor logos, and short personalized runs where digitizing would eat your margin.
- Use medium pressure and follow your film's temperature chart, often lower for acrylic to avoid scorching.
- Cold-peel or hot-peel per the transfer spec, then do a quick second press with parchment for a softer hand.
- Keep designs in the flat cuff zone where the press platen makes full contact.
- Let the cuff cool completely before handling so the adhesive sets fully.
If you want to add matching headwear to a transfer order, our blank apparel and accessories catalog makes it easy to build a coordinated collection across hats, tees, and hoodies.
Placement, Sizing, and Color Tips
Most custom beanies look best with the design centered on the cuff, roughly one inch up from the fold. Keep logos between 2 and 3 inches wide so they sit comfortably on the front panel without wrapping toward the ears. For dark beanies, choose thread or transfer colors with strong contrast, and remember that heathered knits mute bright tones slightly. When in doubt, mock up the placement on a sample and view it from a few feet away, because beanies are seen at a distance far more often than up close.
Building a Year-Round Beanie Lineup
Beanies aren't only a winter item if you plan your catalog well. Lightweight cuffed styles work for spring outdoor brands, festival merch, and coastal shops where evenings get cool. Stock a tight core of two or three colors you can decorate fast, then add seasonal hues for holiday drops. Keeping a small inventory of blanks on hand lets you turn rush orders quickly, which is exactly the kind of responsiveness that wins repeat team and event business.
Pricing and Selling Your Beanies
Beanies carry a higher markup than basic tees because customers see them as a finished accessory. Factor in your blank cost, decoration time, thread or transfer materials, and a quality cushion for the occasional reject. Bundling beanies with hoodies or tees for cold-weather drops is a proven way to lift average order value, especially heading into fall and winter.
- Bundle beanies with matching outerwear for seasonal promos.
- Offer both embroidered and printed versions at different price points.
- Photograph beanies on a model or a foam head to show real fit.
Frequently Asked Questions
Can you embroider and print on the same beanie?
Yes. Many makers embroider a primary logo on the cuff and add a small printed tag or back hit with DTF. Just keep the two decorations in separate zones so heat from the press doesn't affect the stitching, and decorate the embroidery first so the press platen sits flat on undecorated knit.
What temperature should I use to press custom beanies?
It depends on the fabric and film, but acrylic knits are heat sensitive, so most transfers press cooler than on cotton tees. Always follow your transfer manufacturer's chart and test a sample first to confirm the cuff doesn't scorch or glaze.
Do custom beanies need a special hoop?
A small round or cap-style hoop works best because it secures the stretchy cuff and keeps the design flat during stitching. A standard large hoop can distort the knit and lead to misaligned, puckered embroidery.
Are acrylic or cotton beanies better for decoration?
Acrylic handles embroidery beautifully and is the most common choice. Cotton blends accept heat transfers well at lower temperatures. Pick based on your decoration method and target price point.
How do I stop my beanie embroidery from puckering?
Puckering usually comes from too little stabilizer, an overly dense design, or a loose hoop. Use a cutaway backing, ask for knit-optimized digitizing with proper pull compensation, and make sure the cuff is held firmly in a properly sized hoop.
What sizes should I offer for custom beanies?
Most acrylic beanies are one-size-fits-most thanks to their stretch, which keeps inventory simple. If you serve youth teams or premium fashion lines, consider stocking a youth size and an oversized slouch option to cover more head sizes and styles.
Ready to launch your own headwear line? Shop decoration-ready beanies and blank apparel at Mr Beat Print Studio and start pressing and stitching standout custom beanies today.