Learning how to build a gang sheet is one of the smartest moves you can make as a print shop owner, crafter, or POD seller. A DTF gang sheet lets you pack dozens of designs onto a single transfer sheet, slashing your cost per print and reducing waste. In this guide, we will walk you through exactly how to build a gang sheet that prints clean, presses easily, and stretches every dollar. Whether you are pressing your very first shirt or fulfilling hundreds of orders a week, the same core principles apply, and they are easier to master than most beginners expect.
What Is a DTF Gang Sheet and Why Build One?
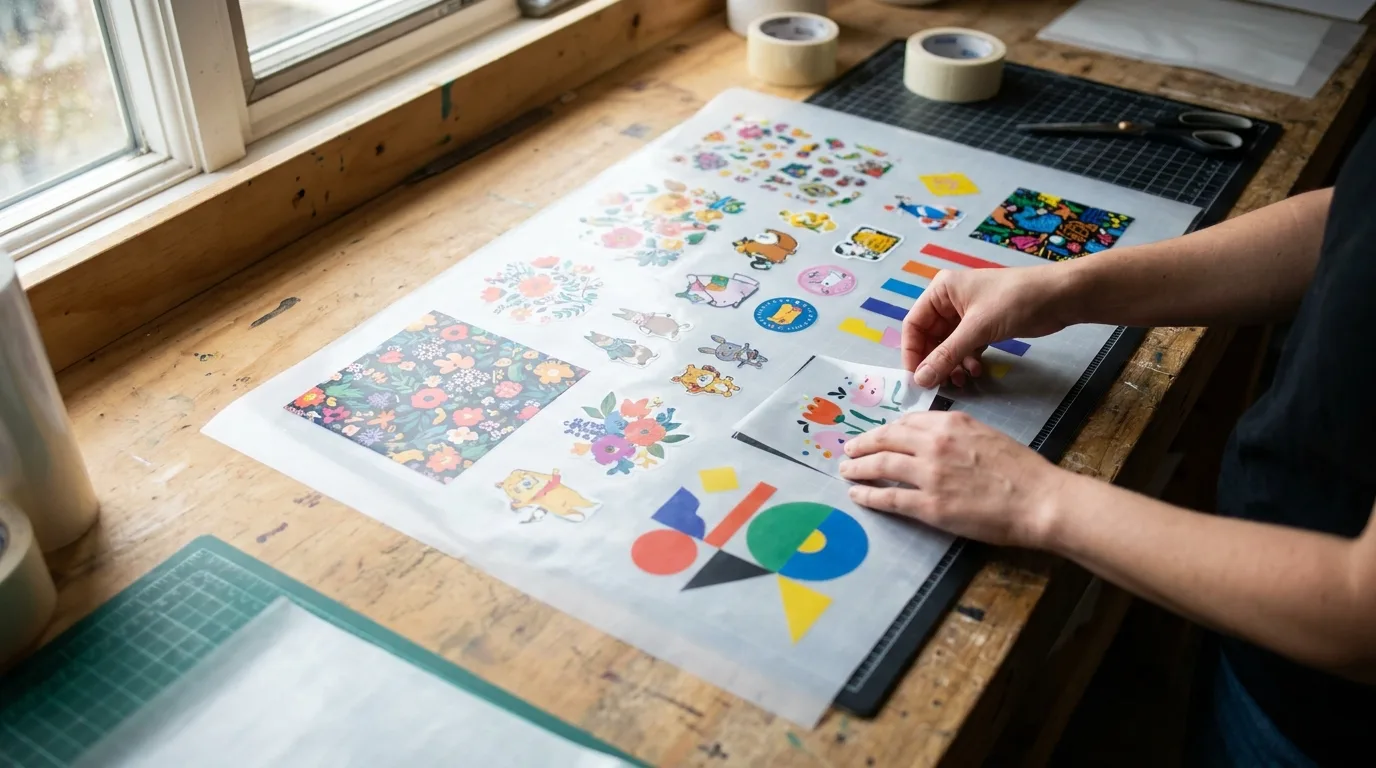
A gang sheet is a large DTF transfer sheet that holds multiple designs grouped together, or ganged, into one file. Instead of paying for individual transfers, you fill the available space with as many logos, names, and graphics as you can fit. The printer runs the whole sheet at once, and you cut each design apart before pressing.
The payoff is simple: more designs per sheet means a lower price per transfer. For anyone running an Etsy shop, a local apparel brand, or a busy print studio, knowing how to build a gang sheet efficiently turns into real savings on every order. It also speeds up your workflow, because you handle one print job instead of dozens of separate transfers. Many sellers find that switching from single transfers to gang sheets cuts their material costs by a third or more, and that margin is what lets a side hustle grow into a real business.
How to Build a Gang Sheet Step by Step
The process is approachable even if you are new to DTF. Follow these steps and you will have a press-ready file in minutes.
- Choose your sheet size. Pick the width and length that match your order volume, such as a 22 inch wide sheet in lengths from 12 inches up to several feet.
- Gather your artwork. Export every design as a high-resolution PNG with a transparent background at 300 DPI.
- Arrange your designs. Drop your graphics onto the sheet and resize each one to the exact print dimensions you need.
- Add spacing. Leave at least a quarter inch between designs so you have room to cut cleanly.
- Review and export. Double-check colors, sizes, and orientation, then save the final file.
Our online gang sheet builder handles the layout for you, with drag-and-drop placement, auto-sizing, and instant pricing as you fill the sheet. Before you finalize anything, it helps to lay out your designs in a logical order, grouping the items that belong to the same order together so that cutting and sorting later is faster and less prone to mix-ups.
Preparing Your Artwork for a Clean Gang Sheet
Great results start with great files. DTF rewards crisp, high-contrast artwork, so take a few minutes to prep each graphic before you build a gang sheet.
File Format and Resolution
Always use PNG files with transparent backgrounds at 300 DPI. Avoid stretching small images, since enlarging a low-resolution file leads to blurry, pixelated transfers. If a logo only exists as a tiny JPEG, recreate it as vector art or request a higher-quality source. A quick way to check resolution is to view the design at 100 percent on your screen at its true print size: if it looks fuzzy there, it will look fuzzy on the shirt.
Color and Detail
DTF prints bold, saturated colors beautifully and can hold fine detail thanks to a white ink underbase. Still, very thin lines under one millimeter and tiny text can be tricky to weed and cut, so bump them up slightly when you can. If your design has soft drop shadows or feathered edges, keep them, because DTF handles gradients far better than vinyl, and those subtle touches help your finished prints look professional rather than homemade.
Sizing and Spacing Tips When You Build a Gang Sheet
Spacing is where many beginners trip up. Crowd your designs too tightly and you risk cutting into a neighboring graphic. Spread them too far apart and you waste sheet space you already paid for.
- Keep a consistent quarter-inch gap between every design.
- Group similar sizes together so cutting stays fast and predictable.
- Rotate tall, narrow designs to fit them alongside wide ones.
- Fill edges and corners with small extras like pocket logos or name tags.
If you already have a layout ready to go, you can simply upload your finished gang sheet and skip straight to printing.
Real-World Use Cases for Gang Sheets
Understanding when a gang sheet shines makes it easier to plan your orders. Here are a few common scenarios where building one pays off the most.
- Team and event orders. Printing the same logo at multiple sizes for jerseys, staff shirts, and giveaways fits neatly onto one sheet.
- Online stores. POD sellers can batch a week of customer orders together, dramatically lowering the cost of each individual sale.
- Stock building. If you have proven best-sellers, gang up extra copies so you always have transfers ready to press on demand.
- Sample testing. Fit several design variations on one small sheet to test colors and sizing before committing to a big run.
The flexibility is the point. A single sheet can serve one large customer order or stitch together dozens of small ones, and either way you come out ahead on cost.
Common Mistakes to Avoid
A few simple habits will save you from reprints. Never submit artwork on a white background, since the printer will treat white as a printable color. Do not forget to mirror text if your workflow requires it, though most DTF processes print right-reading. Confirm your final dimensions in inches, not pixels, so your designs press at the size you intended. Another frequent slip is forgetting to flatten or merge layers properly, which can cause unexpected gaps or halos. Finally, resist the urge to pack designs so tightly that there is no room to cut, because a few saved inches are never worth a ruined transfer.
Cost and Quality Considerations
The real magic of a gang sheet is the balance between cost and quality. Because the print quality of each design is identical whether the sheet holds two graphics or twenty, the only variable you are managing is how efficiently you use the space. Filling a sheet completely gives you the lowest possible cost per transfer without sacrificing a single bit of sharpness, color, or durability. When you plan ahead and batch orders, you capture that savings on every press, and over hundreds of shirts the difference is substantial.
Frequently Asked Questions
How many designs can I fit on one gang sheet?
It depends on your sheet size and design dimensions, but a standard 22 by 24 inch sheet can easily hold dozens of small-to-medium graphics when arranged with tight, even spacing.
What file type should I upload for a gang sheet?
Upload a transparent PNG at 300 DPI. This format preserves clean edges and accurate colors, which gives you the sharpest, most reliable DTF transfers.
Do I need design software to build a gang sheet?
No. Our online builder lets you drag, drop, resize, and arrange designs in your browser, so you do not need Photoshop or Illustrator to create a professional, press-ready sheet.
Should I mirror my designs before building a gang sheet?
Most DTF transfers print right-reading and do not need mirroring, so your text appears correct as you lay it out. Always confirm the requirement with your print process, especially if you are coming from a vinyl workflow where mirroring is standard.
How tight can I pack designs without ruining the cut?
A quarter-inch gap is the safe baseline. You can shave that down slightly for simple, blocky shapes, but leave a touch more room around intricate artwork so your scissors or cutter have somewhere to land.
Can I mix different design sizes on the same sheet?
Absolutely, and it is one of the best ways to fill space. Place your largest graphics first, then tuck smaller logos, names, and icons into the gaps around them to make full use of every inch.
Ready to put these tips to work? Build your custom layout with the Mr Beat Print Studio gang sheet builder and start saving on every transfer today. Explore more printing tips on the Mr Beat Print Studio blog and order your next sheet from our full catalog.