What You Need
- Your DTF transfer (from Mr Beat Print Studio)
- A heat press (recommend: 325-330°F, medium pressure)
- A heat-resistant platen cover or Teflon sheet
- Your blank garment (cotton, poly, or blend)
Step 1: Pre-Press Your Garment
Pre-press your blank for 3-5 seconds to remove moisture and wrinkles. This ensures a flat, clean surface for the transfer.
Step 2: Position the Transfer
Place the DTF transfer face-down (film side up, printed side on fabric) in the desired position. For a left-chest logo, center it about 3-4 inches from the collar.
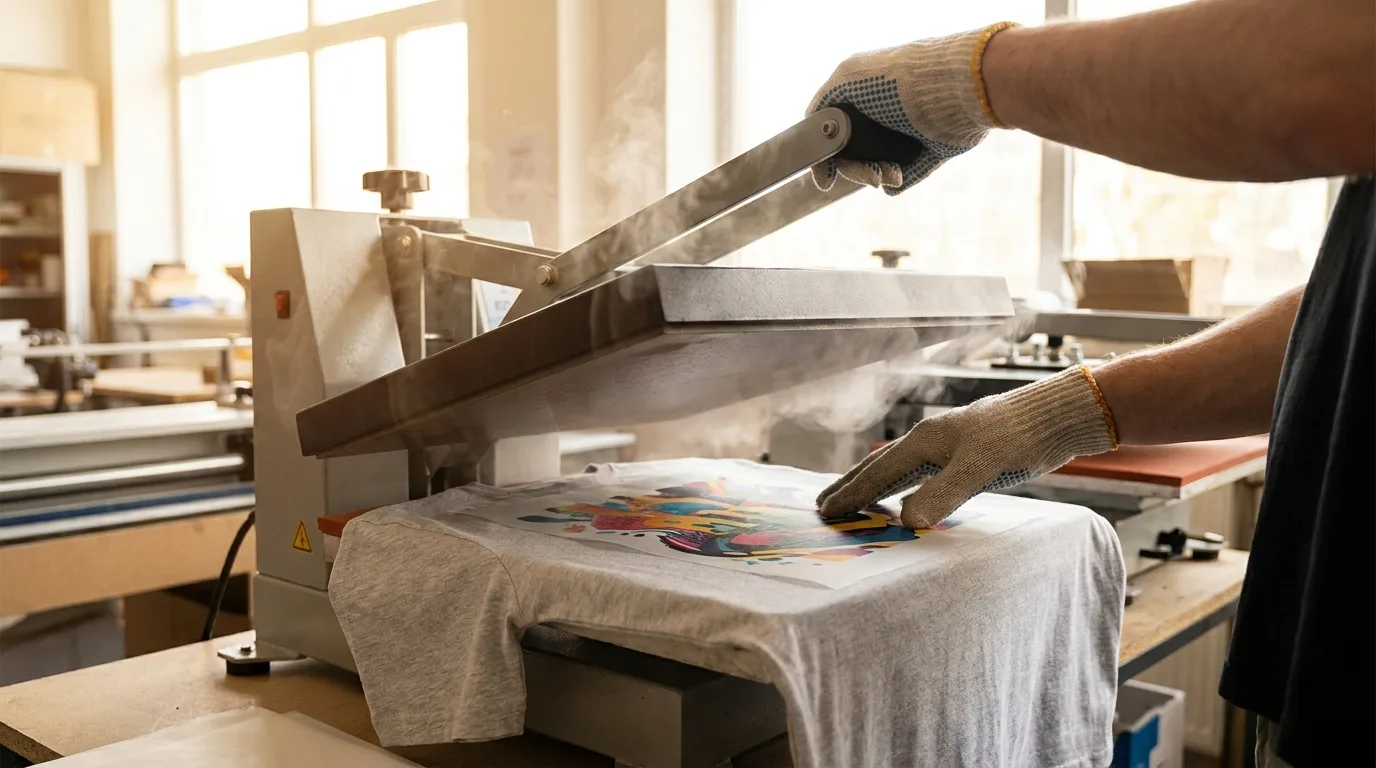
Step 3: Press
Press at 325-330°F (163-166°C) for 10-15 seconds with medium-to-firm pressure. Do not move the press during application.
Step 4: Peel
DTF transfers are a cold peel, let the transfer cool for 15-20 seconds before peeling the film. Peel slowly at a 180-degree angle.
Step 5: Re-Press (Optional)
For best durability, cover with a Teflon sheet and re-press for 5 seconds. This final press improves washability and sets the adhesive.
Washing Instructions
Wait 24 hours before first wash. Machine wash cold, inside-out. Tumble dry low or air dry. Do not iron directly on the print.
Troubleshooting
- Transfer not sticking: Increase temperature or pressure. Pre-press longer.
- Transfer cracking after wash: Ensure you cold-peeled. Try re-pressing.
- Ghosting or blur: Do not slide the heat press platen. Check pressure.
Questions? Contact our support team, we respond within hours.